Adding Visuals to Your Forms
Adding visuals to your forms can make or break the overall experience you're going for. Adding a cool image or video does a great job of making your forms better align with your brand, fit within a webpage, or add an extra level of quality.
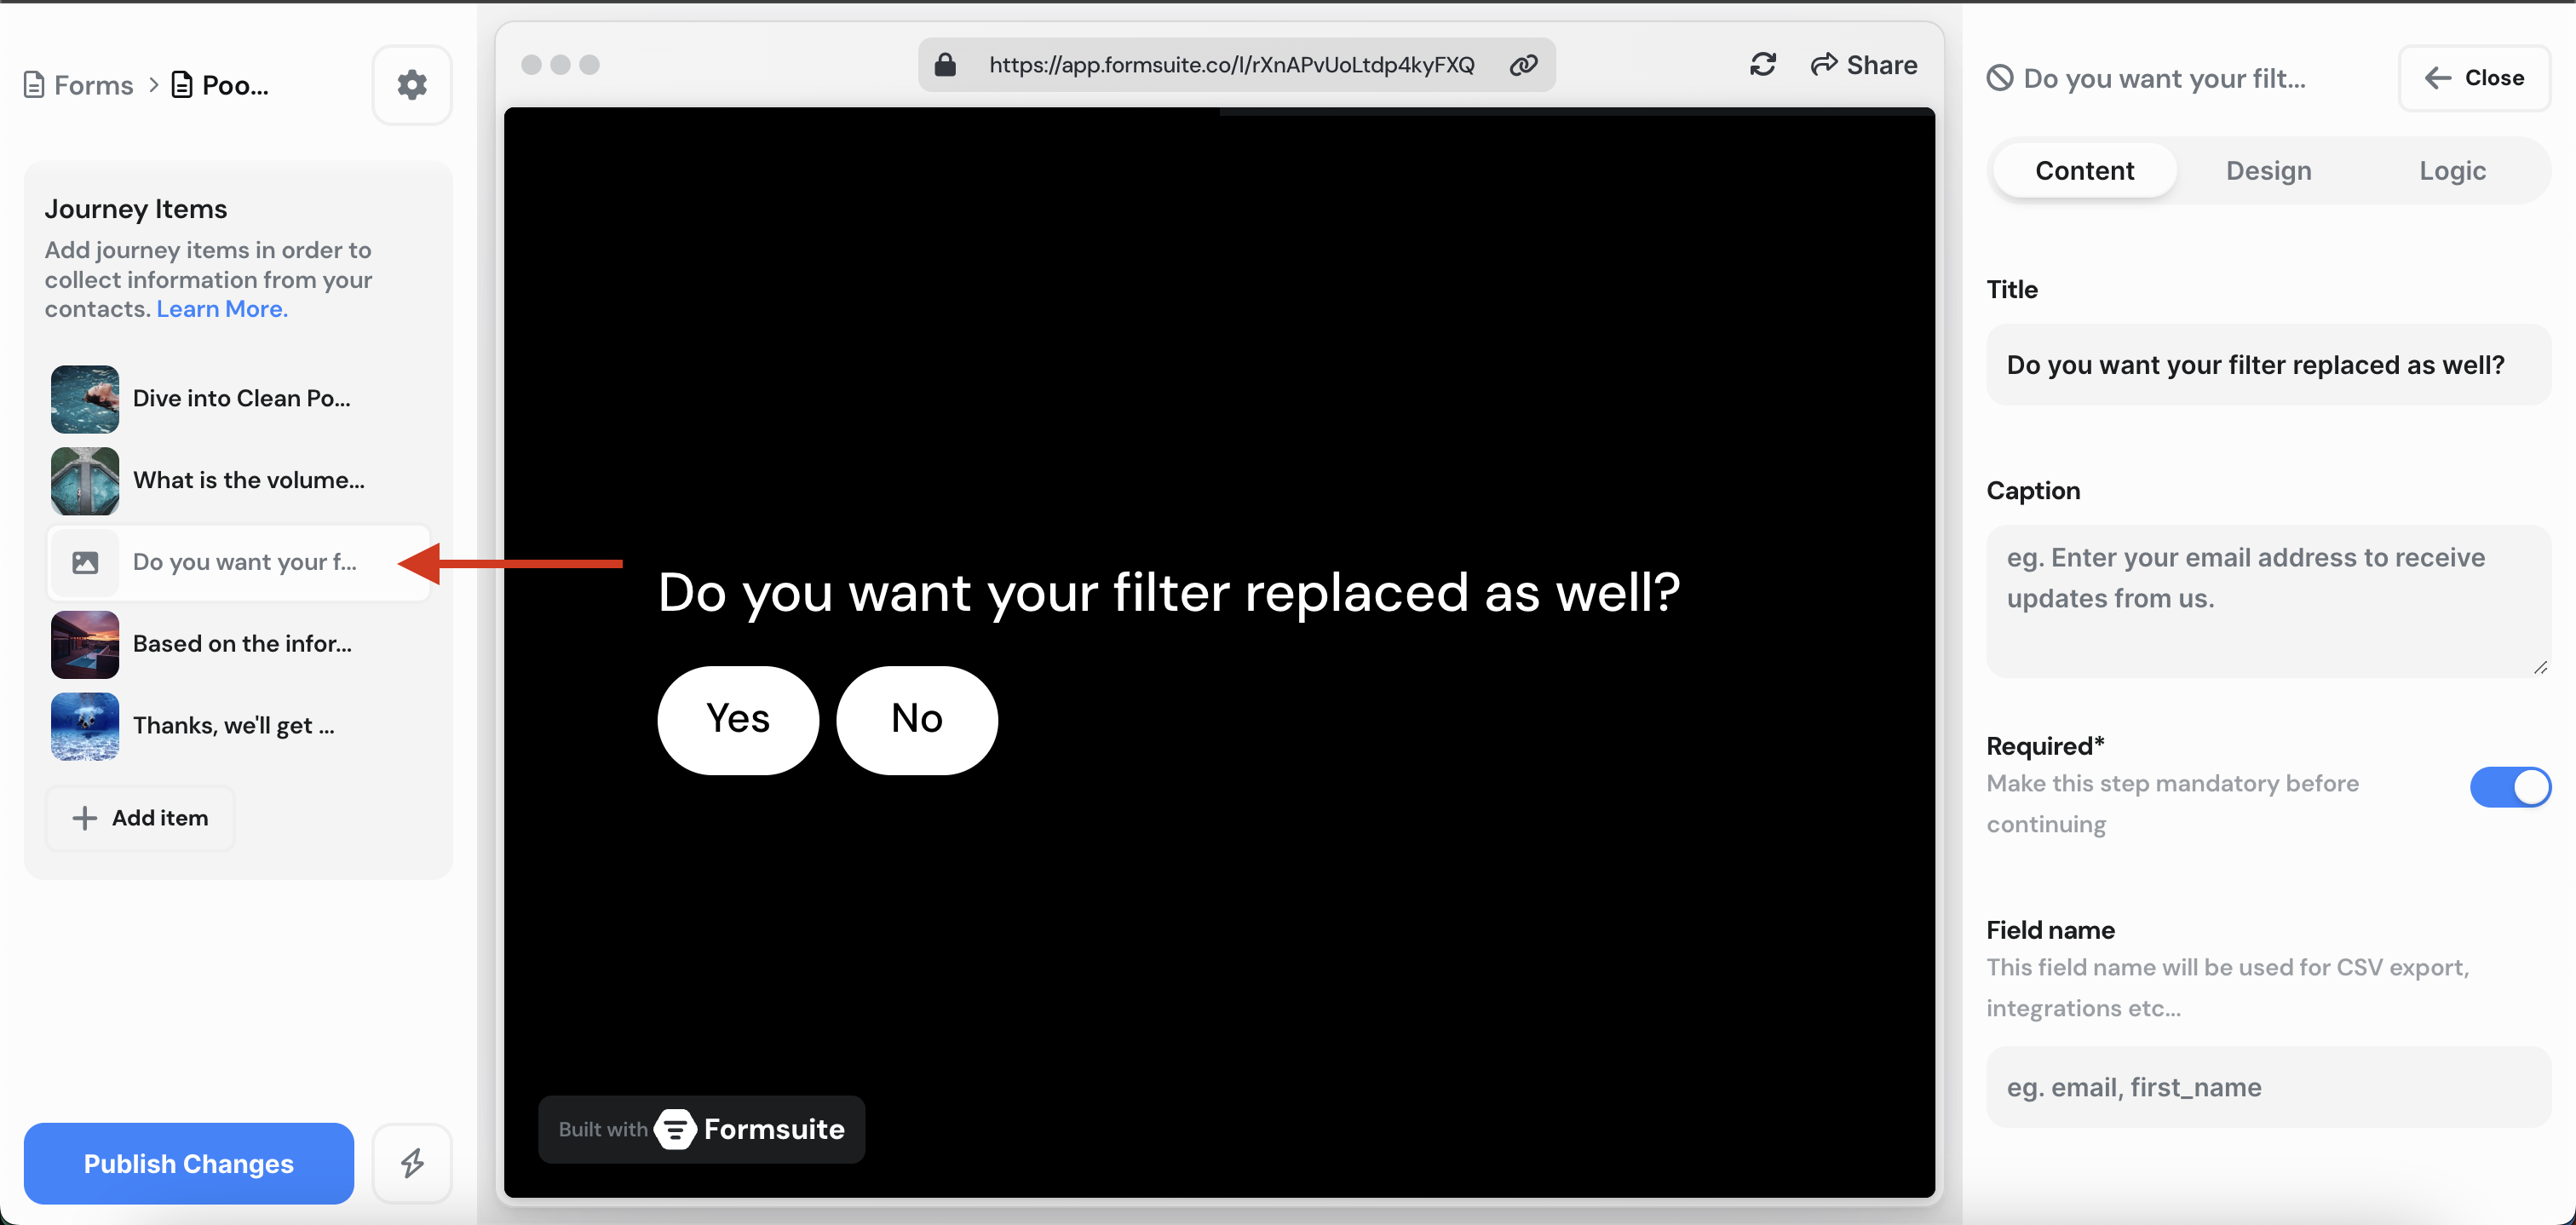
1. It is simple to add visuals to your form. To start, click on the journey item you want to edit.
2. Now click on the "Design" tab item in the editor sidebar.
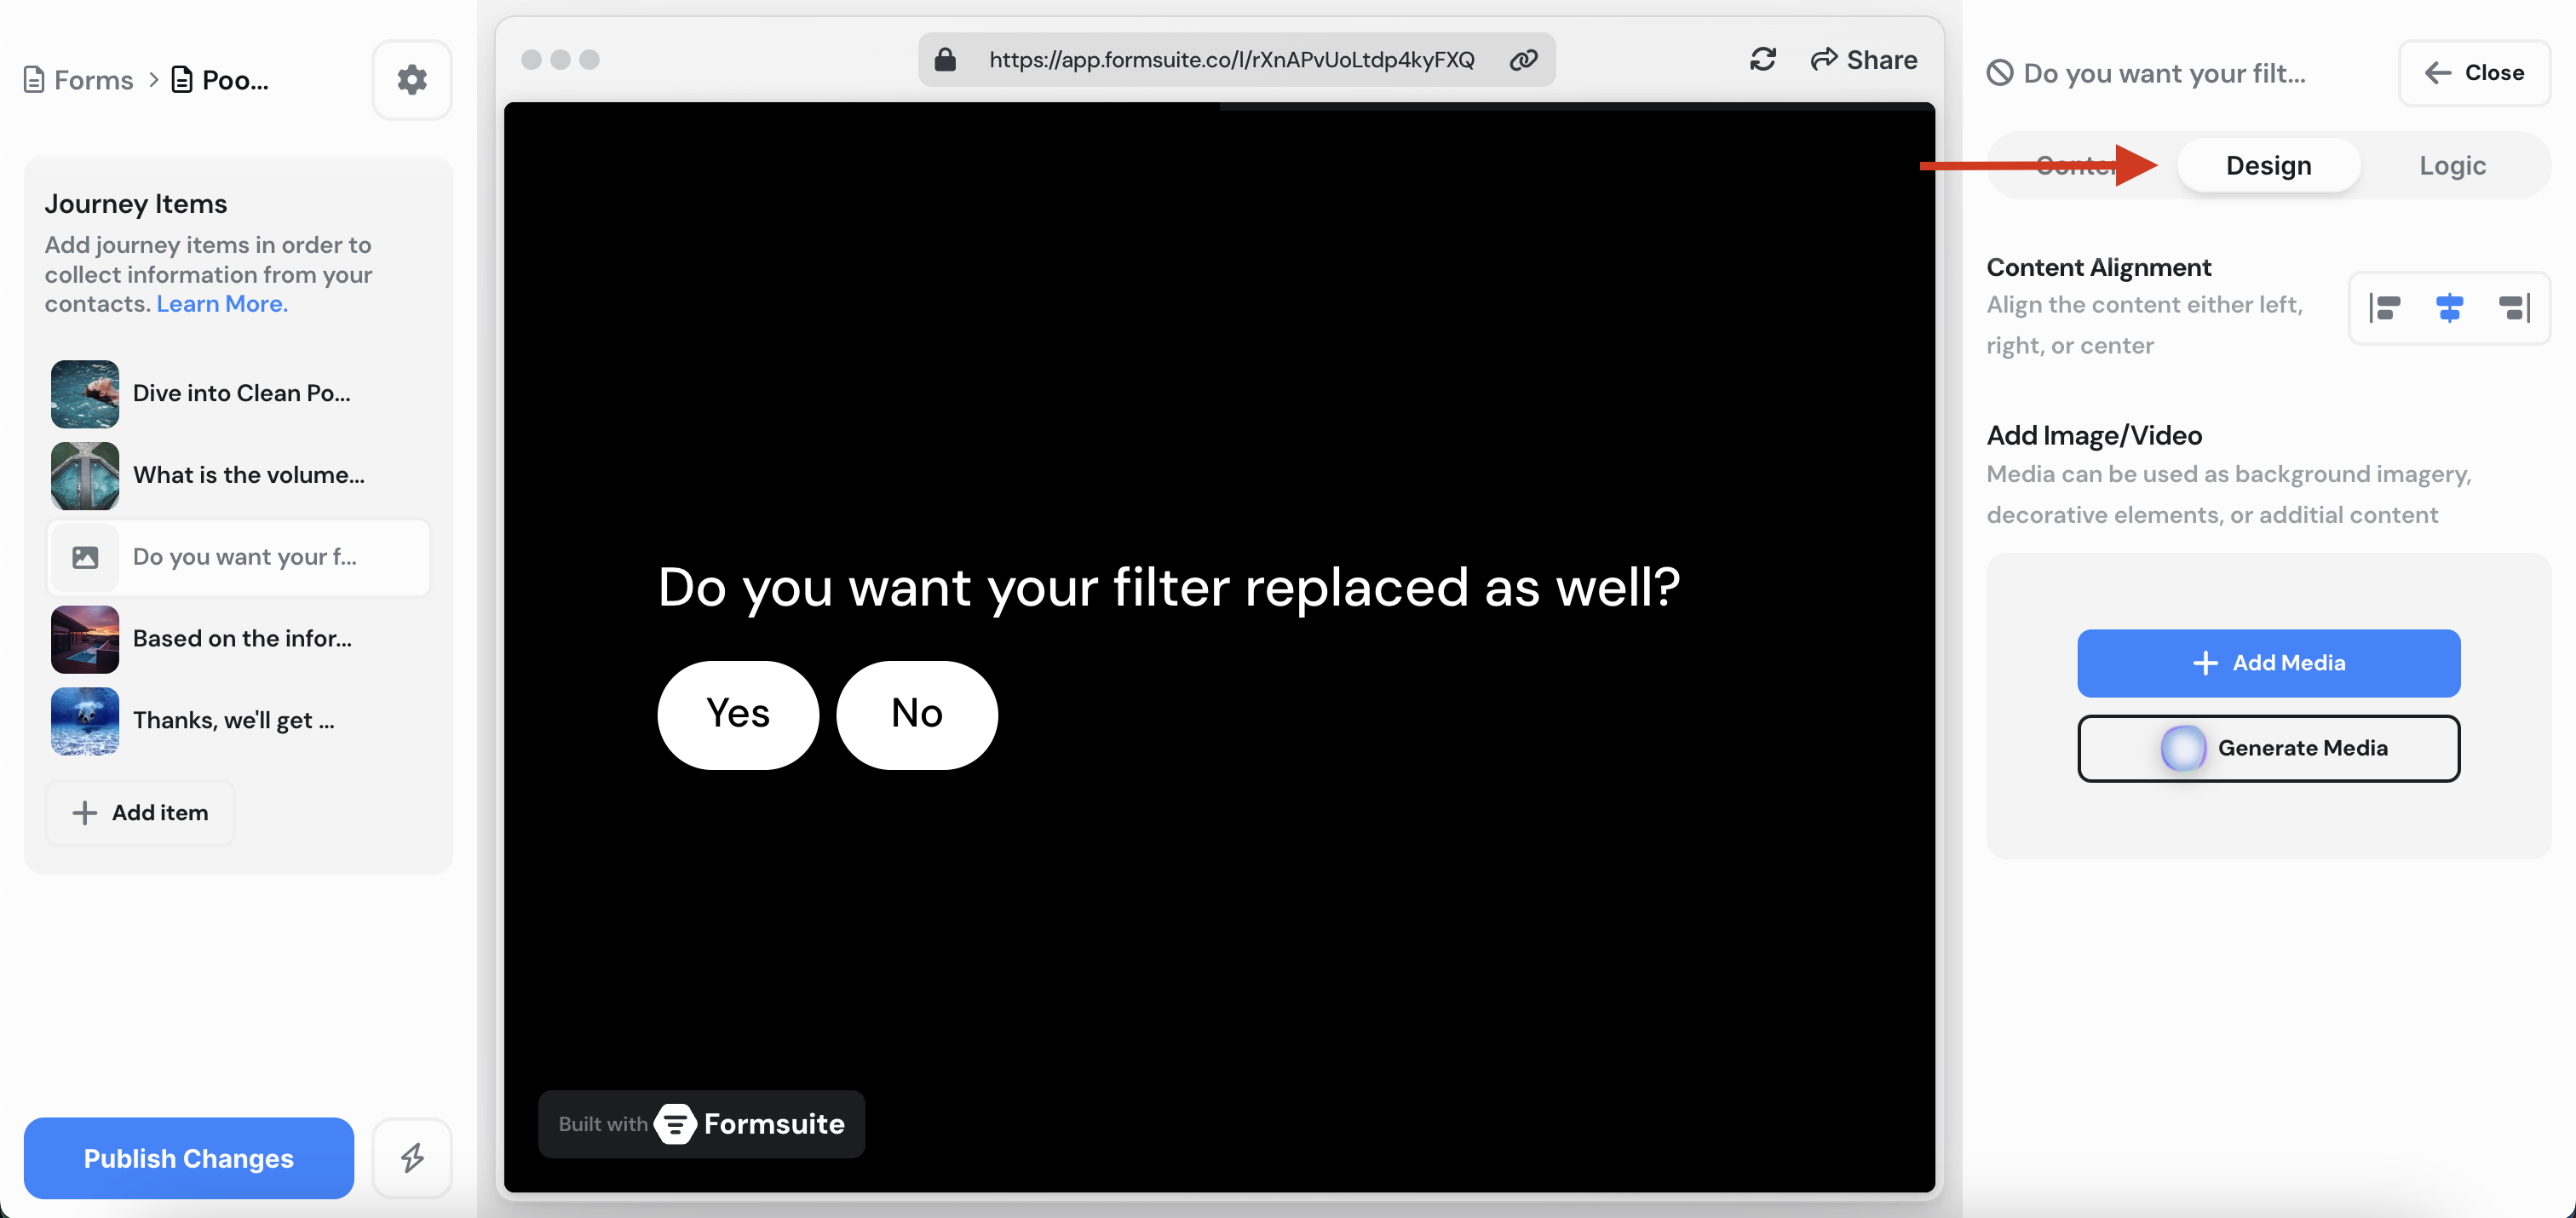
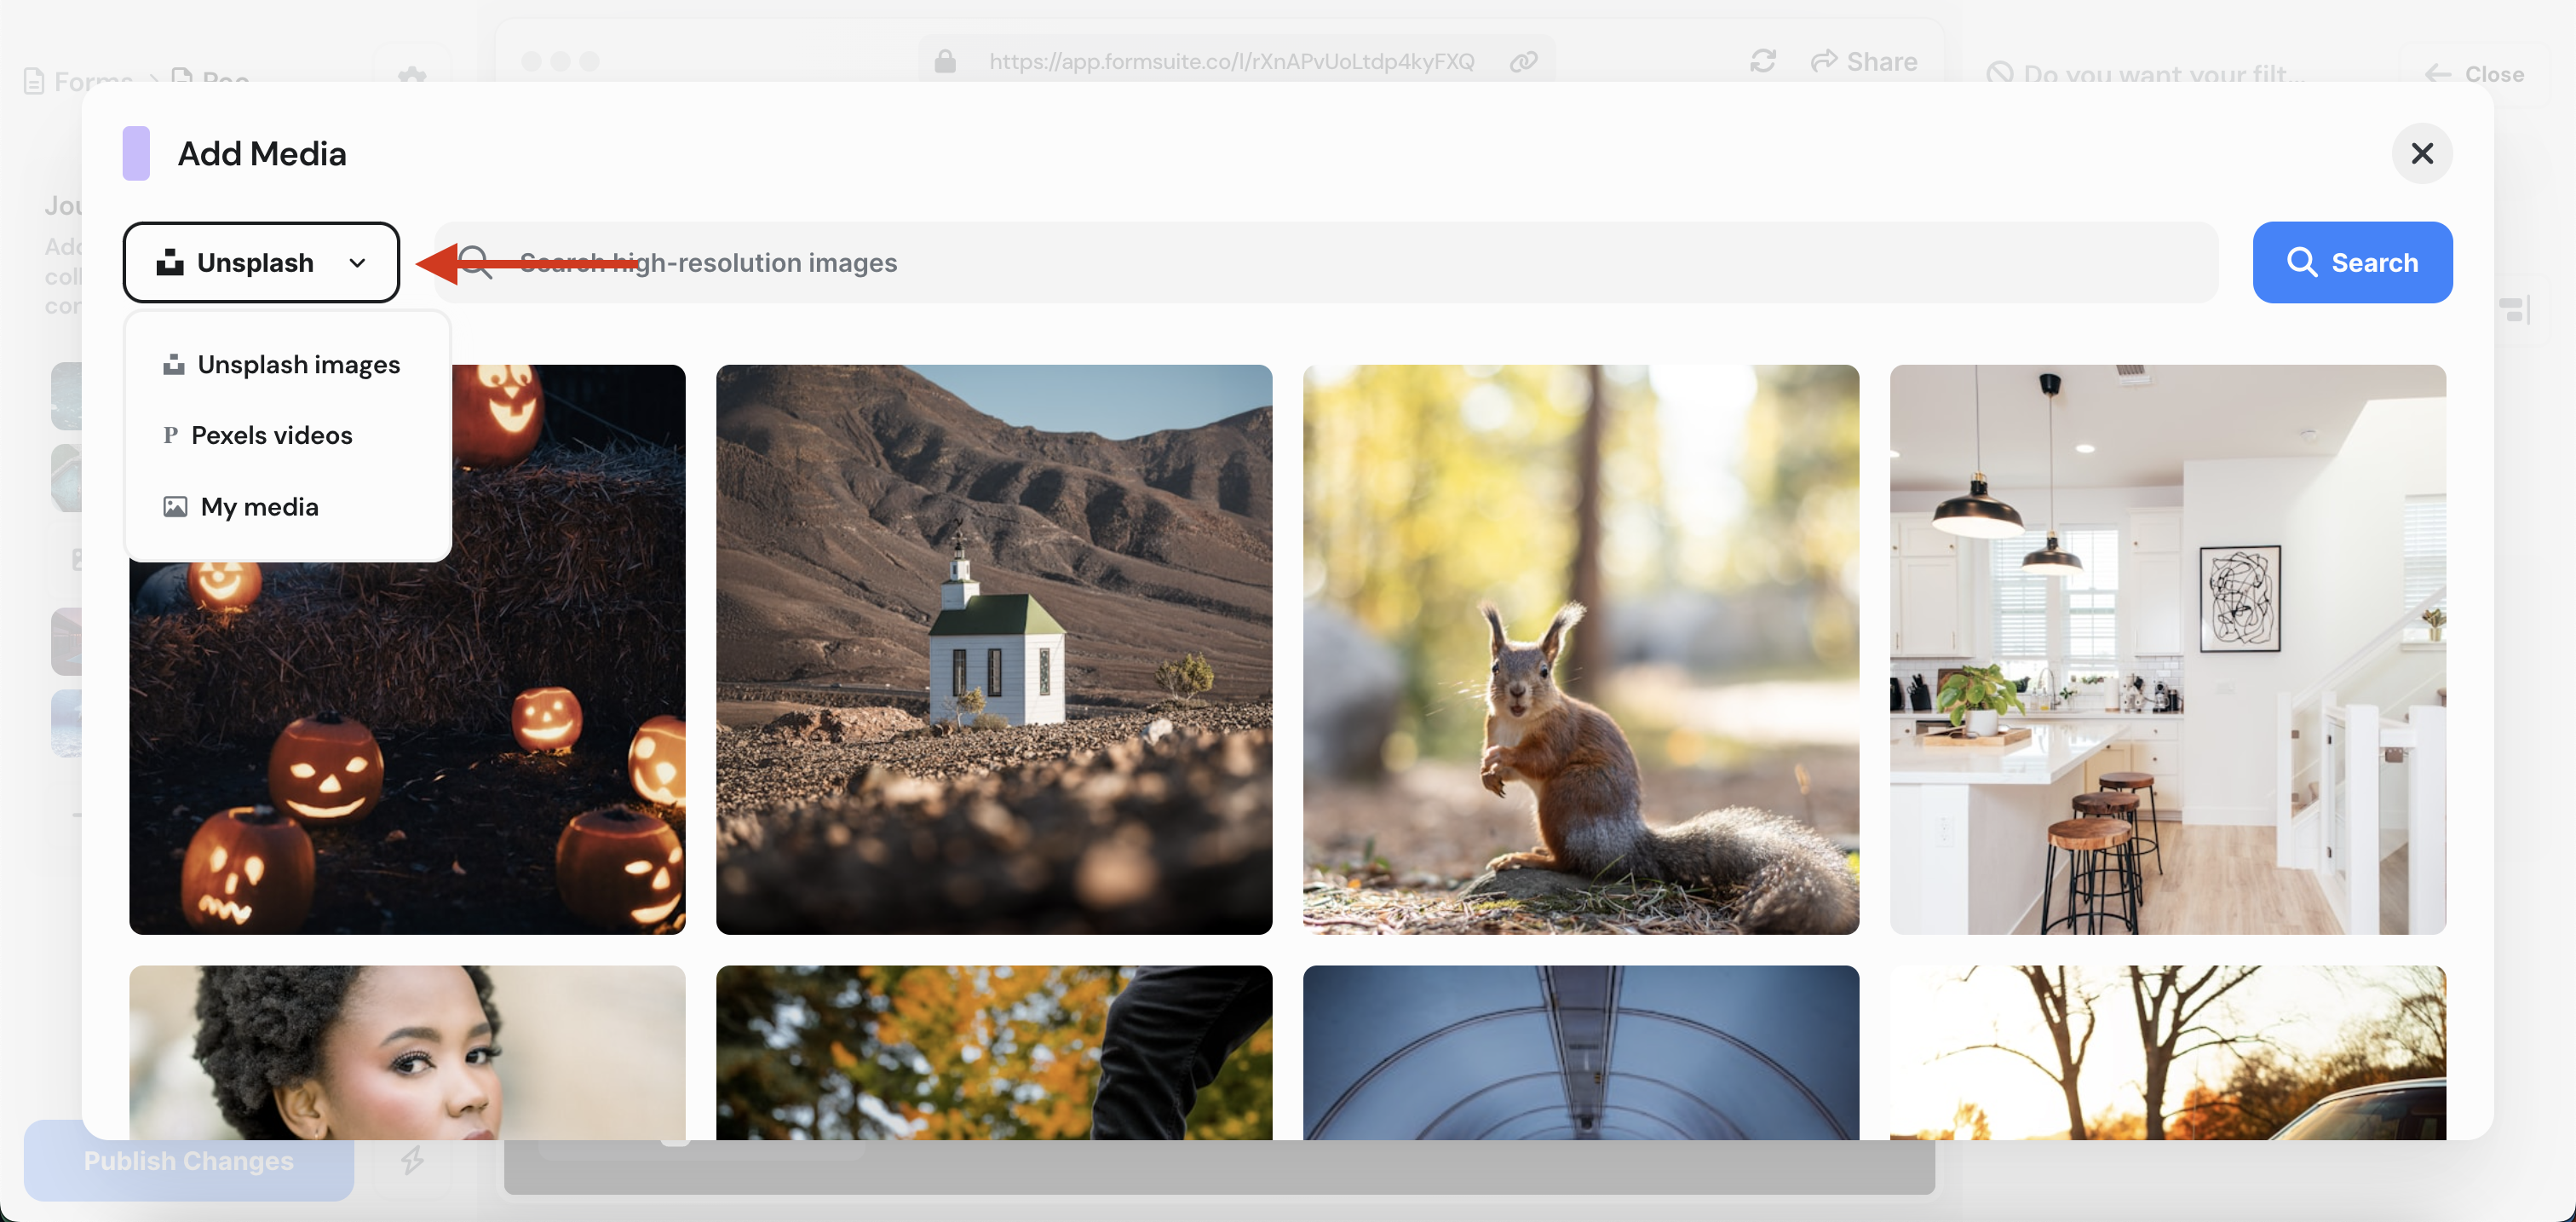
3. Next, click on the "+ Add Media" button. This will open a media modal. From here you can click on an image or video you want to add to your form. You can search by term, or select one of the the featured images/videos.
You can also filter between Unsplash Images, Pexel Videos, or your own media.
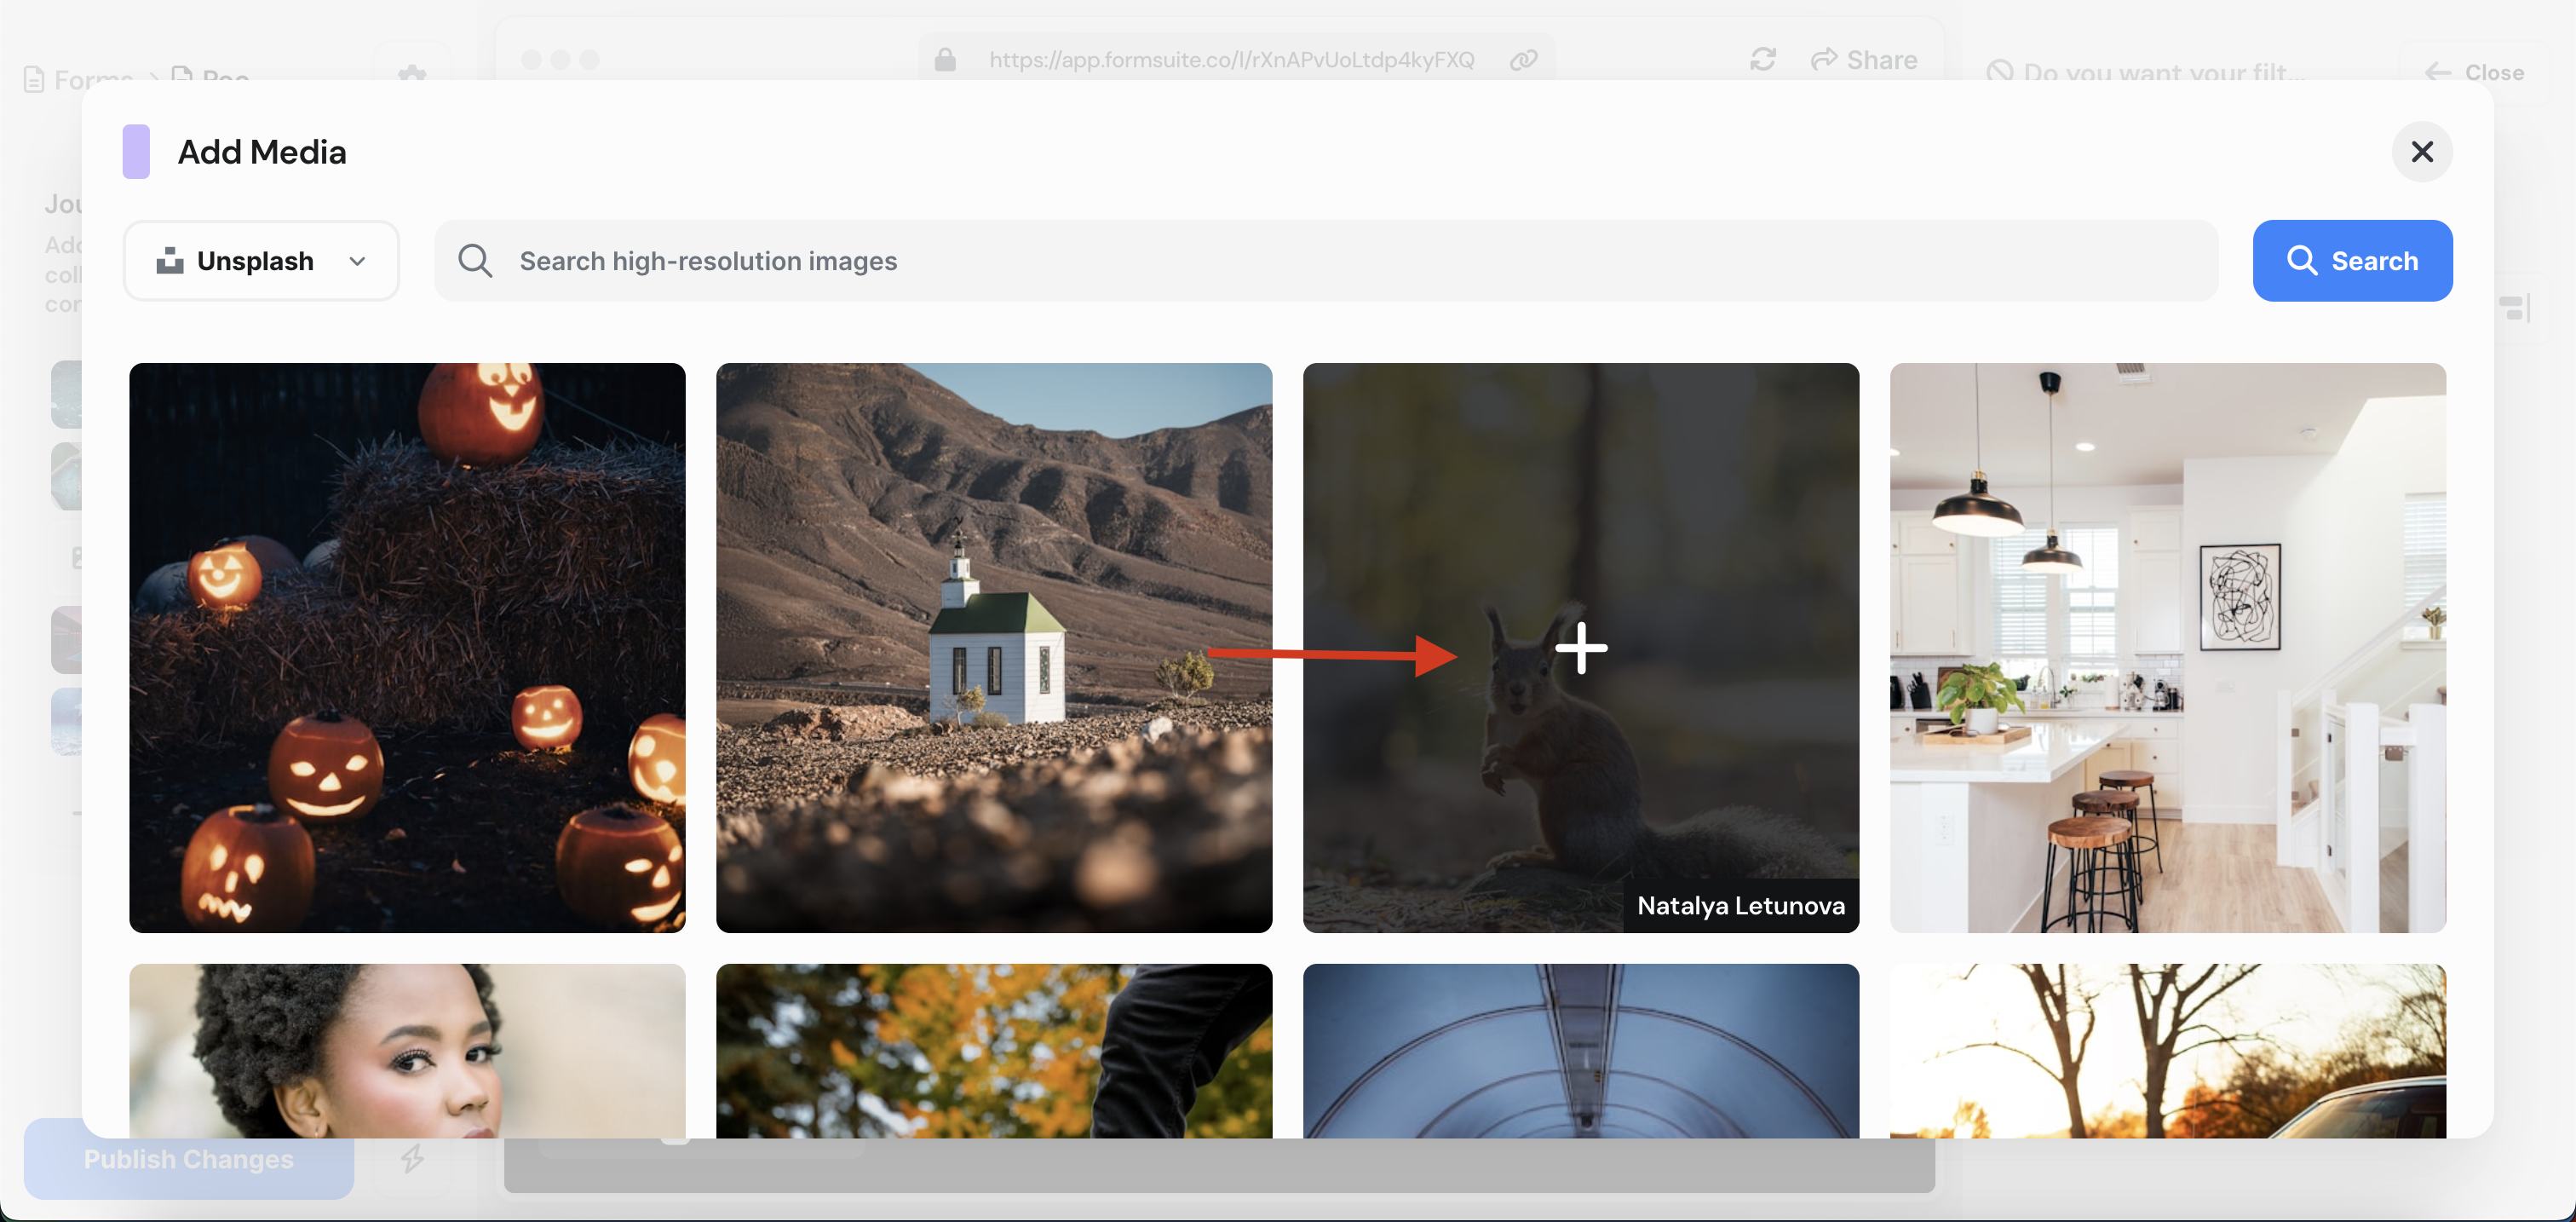
4. After clicking on the image/video you want to add, you'll see that it has been added to your editor sidebar.
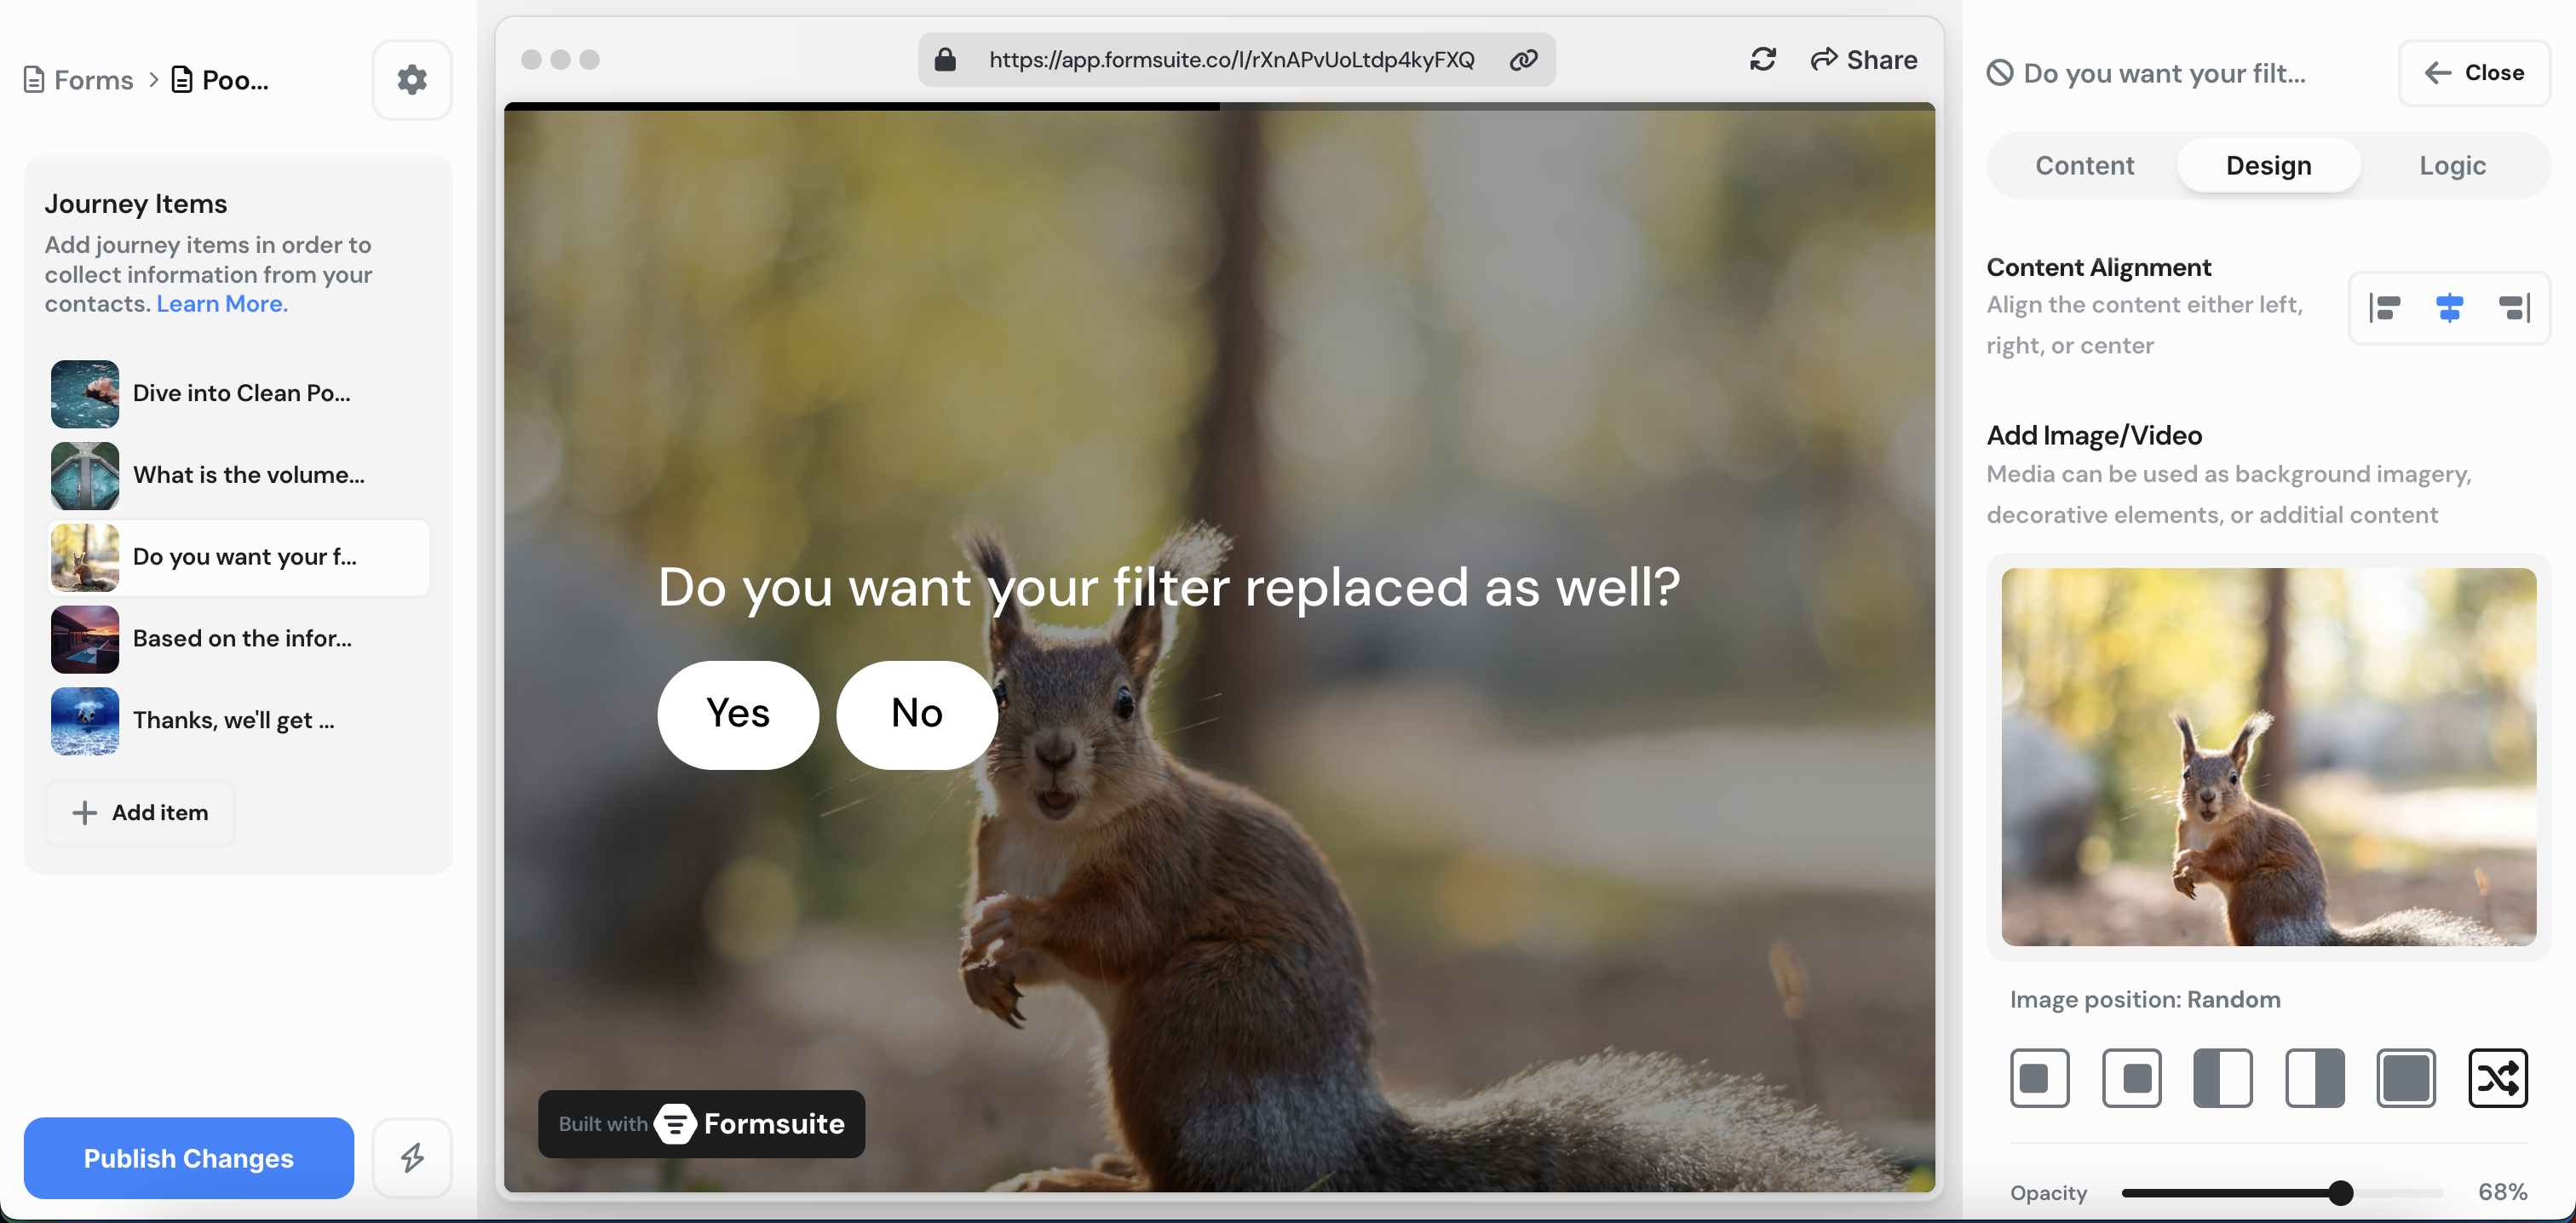
5. Now that you have your media added to your journey item, there are a few new settings you can change. You can change the media position by clicking on one of the "Image position" icons. You can set the image position as:
- Left Detached
- Right Detached
- Left Split
- Right Split
- Full Screen
- Random
For example, I've selected Right Split as my image position now.
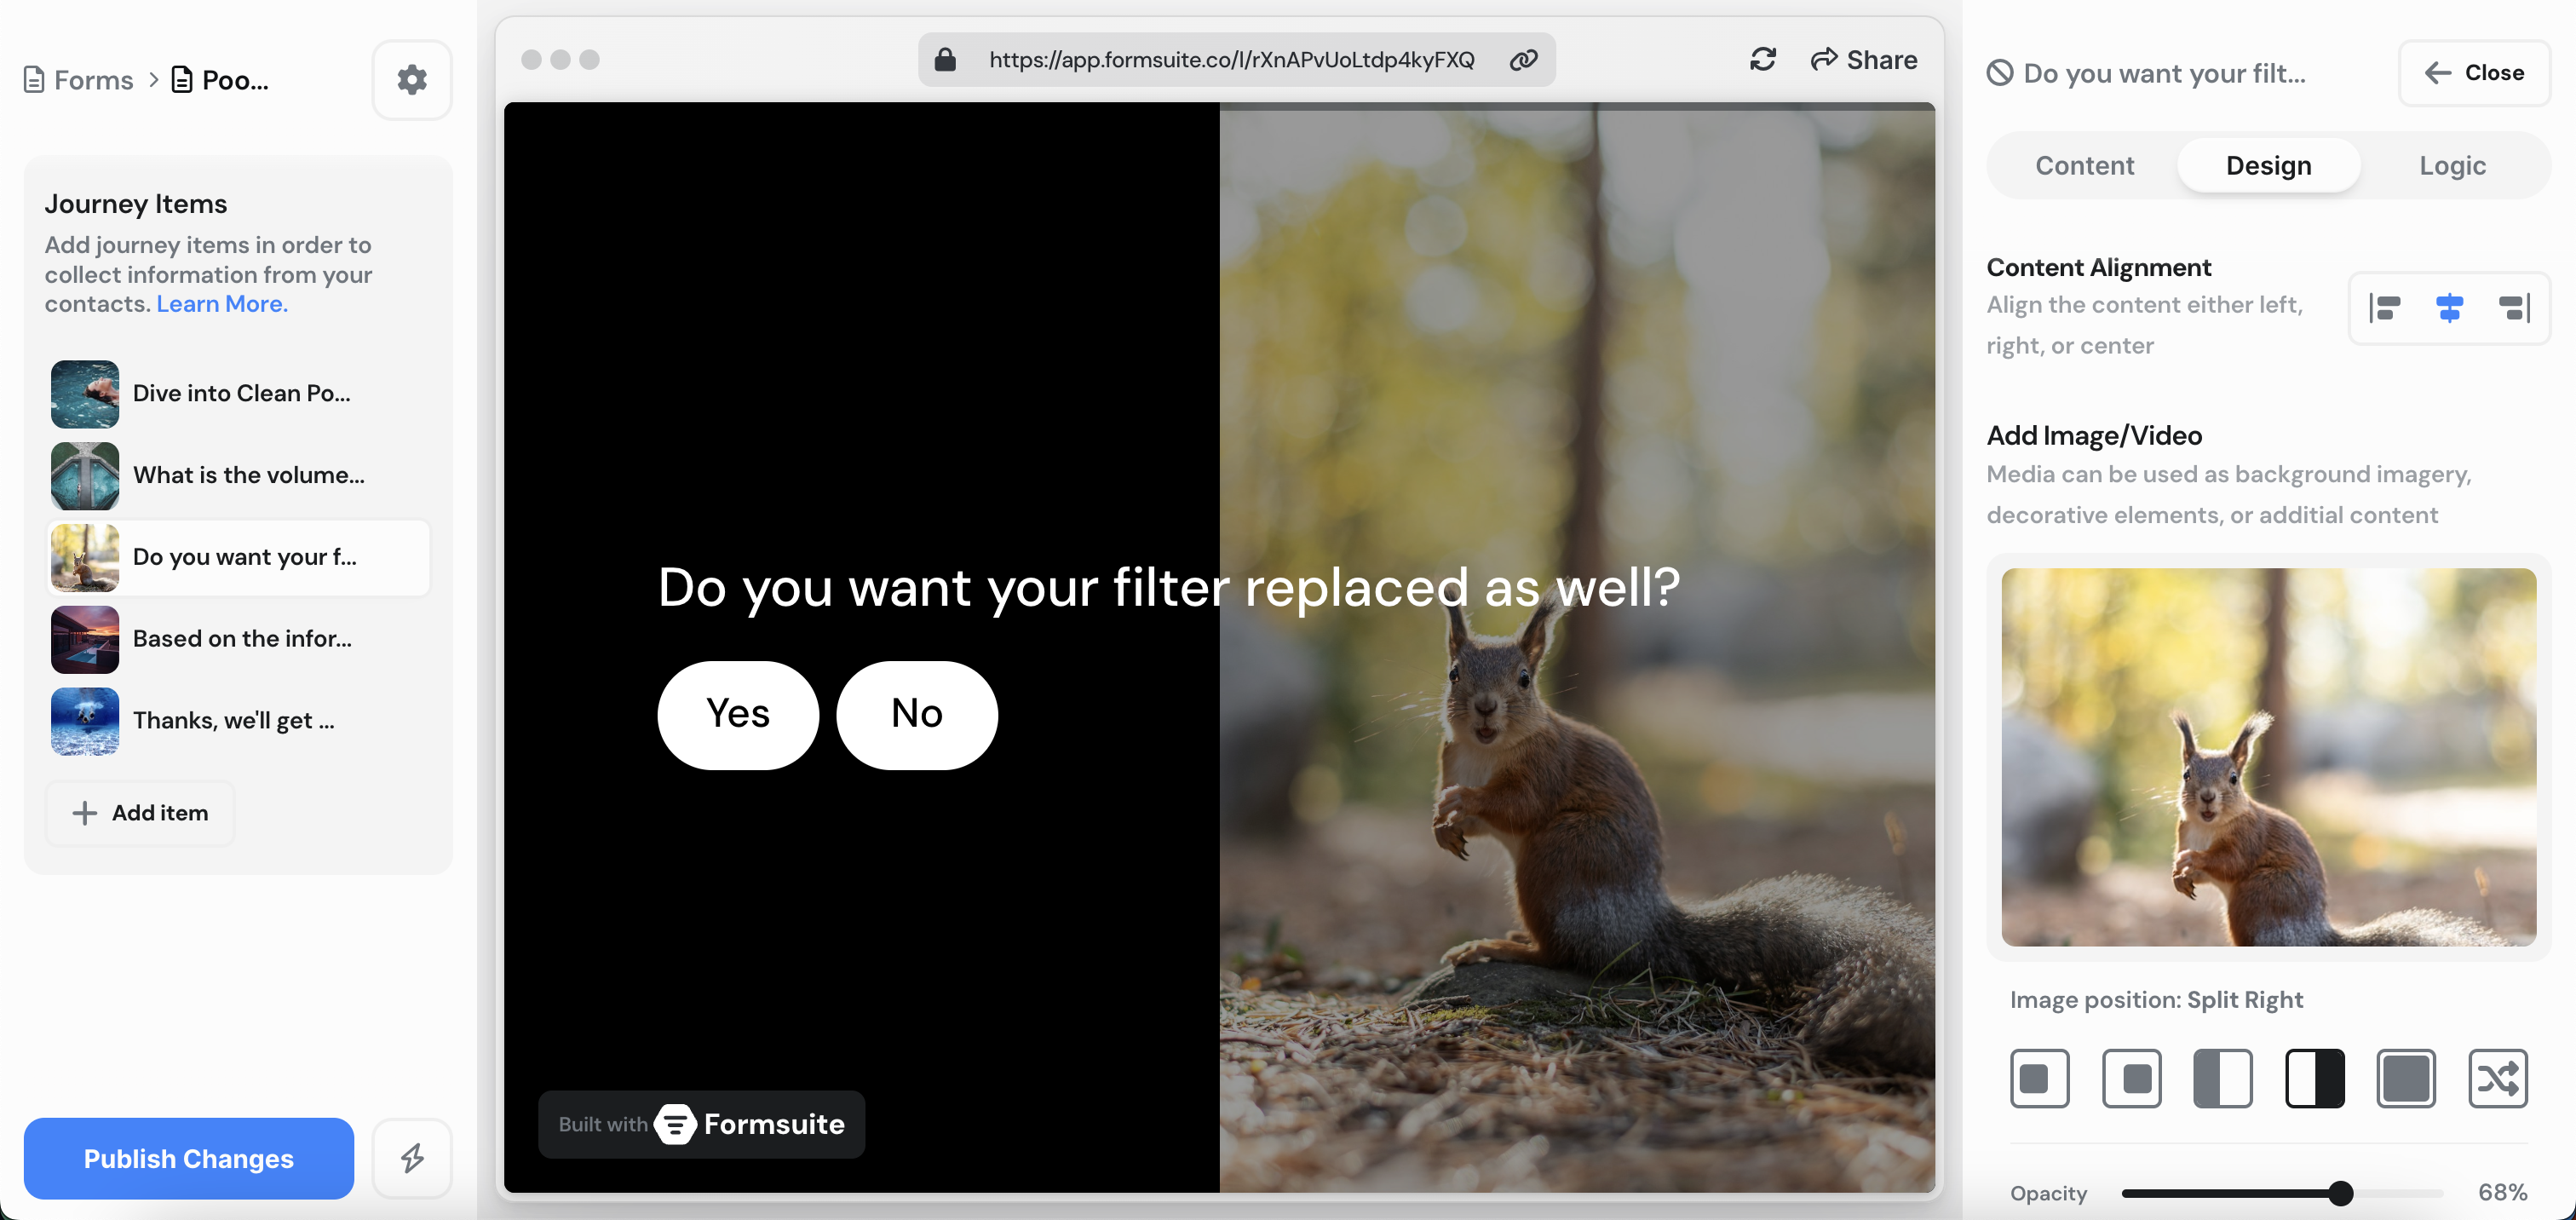
I can also modify the opacity of the media. This will control the level fade which can be useful for preventing the media from bleeding into the text/content.
You can also easily remove the media by clicking "Remove Media" at the bottom.